Blind Spot Audit
Secure fraud your IDV already approved.
Runs On Your Cloud
No Data Sharing
No Contract Required

Deepfake Detection
Check where deepfake IDs slipped
through your stack.
Runs On Your Cloud
No Data Sharing
No Contract Required

Liveness Detection
Find the replay gaps in your passed
liveness checks.
Runs On Your Cloud
No Data Sharing
No Contract Required

Document Deepfake Detection
Spot synthetic documents hiding in
verified users.
Runs On Your Cloud
No Data Sharing
No Contract Required

Document Originality Detection
Stop fake documents before they pass.
Runs On Your Cloud
No Data Sharing
No Contract Required
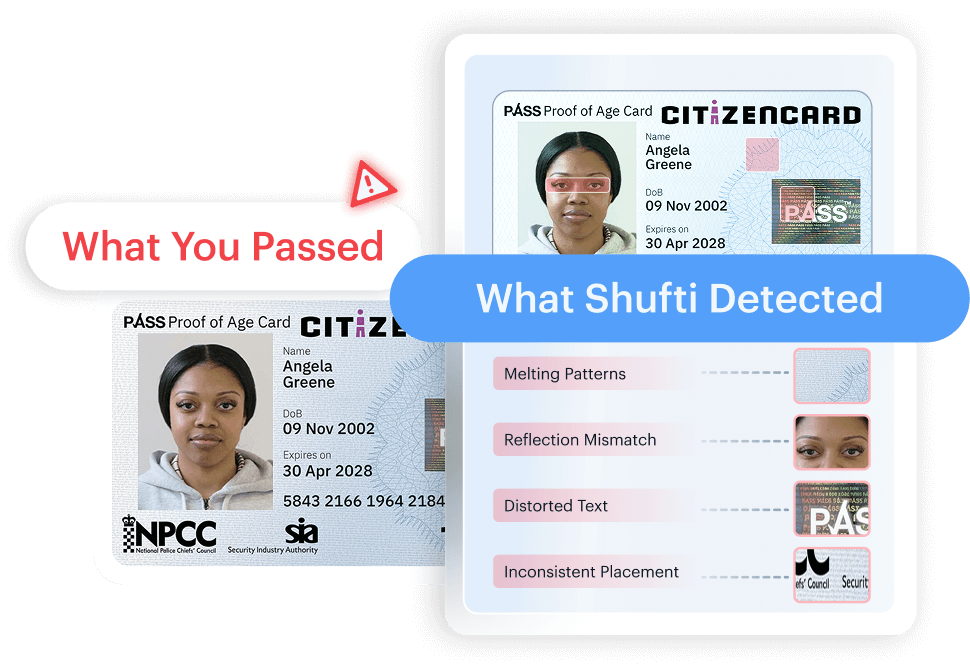
Introducing Blind Spot Audit. Spot AI-generated forgeries with advanced document analysis.
Run Now on AWS
Introducing Deepfake Detetction. Detect deepfakes with precision your stack has missed.
Run Now on AWS
Introducing Liveness Detection. Detect spoofs with technology built for sophisticated fraud.
Run Now on AWS
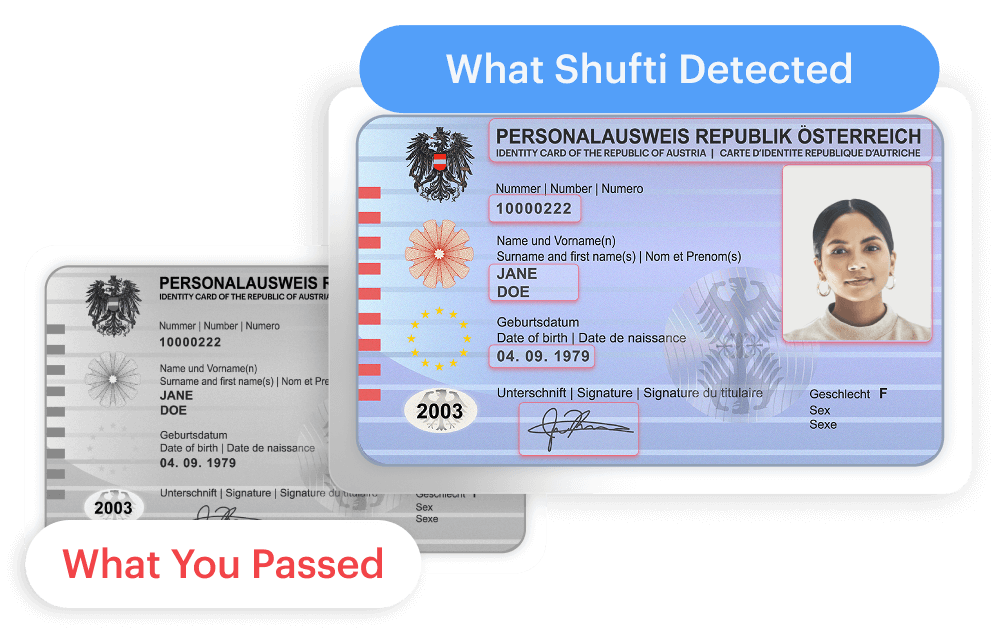
Introducing Document Deepfake Detection. Spot AI-generated forgeries with advanced document analysis.
Run Now on AWS
Introducing Document Deepfake Detection
Spot AI-generated forgeries with advanced document analysis.
Run NowIntroducing Document Originality Detection. Verify document authenticity before your next audit.
Run Now on AWS
Introducing Document Originality Detection
Verify document authenticity before your next audit.
Run NowProducts
User Verification
Business Onboarding
Authentication
Monitoring & Compliance
Solutions
Industries
Role
Platform
Explore
Knowledge Hub
Blind Spot Audit Suite
Media Room
Developers
Support
us
216.73.216.80
Shufti - Billing
Billing
Access Billing Details, Adding Balance and
Payment Methods
Shufti back-office has a separate “Billing” section with details and functionalities regarding
payment of verification services/credits. It includes the option for adding new payment methods,
checking the remaining balance, accessing details regarding payments and adding balance to the
account as well.
Follow the given steps for accessing all these details.
- Log-in to Shufti back-office using back-office credentials (Email and Password),
- Click on the “Billing” tab
On the top right corner, the user can see the remaining balance (in USD) that has already been added
to the account. This is also accessible through the “Dashboard” tab.
- Below the balance amount, the user has two options:
Add balance
TimeFrame
- Click on “Add Balance”
Click on the option described below for adding a new card as the payment method,
- Click on “Add new card”
- Enter the “Card Number” and the required details to add the card as a new payment method.
After adding the card as a payment method, the client can click on the “Add Balance” button to add
credit to the Shufti account using the specified card. Upon clicking on “Add Balance” a popup will appear
- Click on “Add Card”
A minimum balance of 100 USD needs to be added on each transaction. The client can enter the
desired amount and click on “Pay now” to proceed with the payment.
- Enter the desired amount in USD
- Select “Pay now”
The client also has an option to download payment history by specifying the time frame for
those payments.
This can be done in two steps:
First, the user should specify the timeframe from the option present on the top right corner and then
click on the option “Verifications from YYYY-MM-DD to YYYY-MM-DD” under the heading of
“Reference/Details”.
Click on “Verifications from YYYY-MM-DD to YYYY-MM-DD”
After going through the above mentioned procedure, a dialogue box opens up that gives the user an
option to sort billing details with respect to verifications.
The user can enter the Reference Number in the field of “Reference” and the billing details will be
displayed against it. Moreover the client can also click on the “Export” button to download
verification billing details of the respective verifications.
Select “Export”
Note: Adding a card as a payment method does not imply that the client will be automatically charged from the card once a verification is performed. The client must add balance to their account after entering the payment method to pay for verifications.
Thanks For Your Submission.
 Explore Now


